
.NET Aspire 9.1 was just released on February 25th, 2025. It comes with great new dashboard features, and there is more! One feature I am particularly interested in is the ability to use Dev Containers.
In this post, I will show you how to use the new .NET Aspire 9.1 with a Dev Container and JetBrains Rider. You could also use Visual Studio Code.
Introduction
First, what are Dev Containers? Dev Containers are a way to define a fully functional development environment in a container. This allows you to have a consistent development environment across your team. It also allows you to have a development environment that is isolated from your host machine. This means that you can host your development environment somewhere else, like in the cloud, and access it from anywhere.
Prerequisites
To follow this post, you need to have the following installed on your machine:
Then you can use one of the following:
Note that you don’t need to have .NET or .NET Aspire 9.1 installed on your machine as these will be provided by the Dev Container 🤯
Getting Started
Dev containers are defined using a devcontainer.json file. This file defines the development container and is placed in a .devcontainer folder in your project.
Create a folder for your project, and inside create another folder named .devcontainer. Inside the .devcontainer folder, create a devcontainer.json file. Then edit the devcontainer.json file and copy-paste the following:
{
    "name": ".NET Aspire",
    // 👇🏼 Use .NET 9 Debian image
    "image": "mcr.microsoft.com/devcontainers/dotnet:9.0-bookworm",
    "features": {
        "ghcr.io/devcontainers/features/docker-in-docker:2": {},
        "ghcr.io/devcontainers/features/powershell:1": {},
    },
    // 👇🏼 This is not supported by Rider but it is supported by VS Code
    "hostRequirements": {
        "cpus": 8,
        "memory": "32gb",
        "storage": "64gb"
    },
    // 👇🏼 Install .NET Aspire project templates, run inside the container
    // immediately after it has started for the first time
	"onCreateCommand": "dotnet new install Aspire.ProjectTemplates::9.1.0 --force",
    // 👇🏼 Restore NuGet packages when the container is created
	"postCreateCommand": "dotnet restore",
    // 👇🏼 Trust the development certificates, run each time the
    // container is successfully started
    "postStartCommand": "dotnet dev-certs https --trust",
    "customizations": {
        // 👇🏼 Settings and Plugins for Rider
        "jetbrains": {
            "settings": {
            }
            , "plugins" : [
            ],
        },
    "vscode": {
            "extensions": [
                "ms-dotnettools.csdevkit",
                "GitHub.copilot-chat",
                "GitHub.copilot"
            ]
        }
    }
}
The features section defines the features that are installed in the container. In this case, we are installing Docker in Docker and PowerShell.
The hostRequirements section defines the requirements for the host machine.
The onCreateCommand section defines the command that is run inside the container immediately after it has started for the first time. In this case, we are installing the .NET Aspire project templates.
The postCreateCommand section defines the command that is run once when the container is created. It executes in the container after onCreateCommand. In this case, we are running dotnet restore.
The postStartCommand section defines the command that is run each time the container starts. In this case, we are trusting the development certificates.
Finally, the customizations section defines the customizations that are applied to the container. In this case, we are installing the C# extension for Visual Studio Code and the GitHub Copilot extensions.
Using the Dev Container in Rider or Gateway
For this blog post, I used Rider 2025.1 EAP 7, which is the Early Access Program version. It seems to fix an issue I had with onCreateCommand. In previous versions, the .NET Aspire templates were not installed.
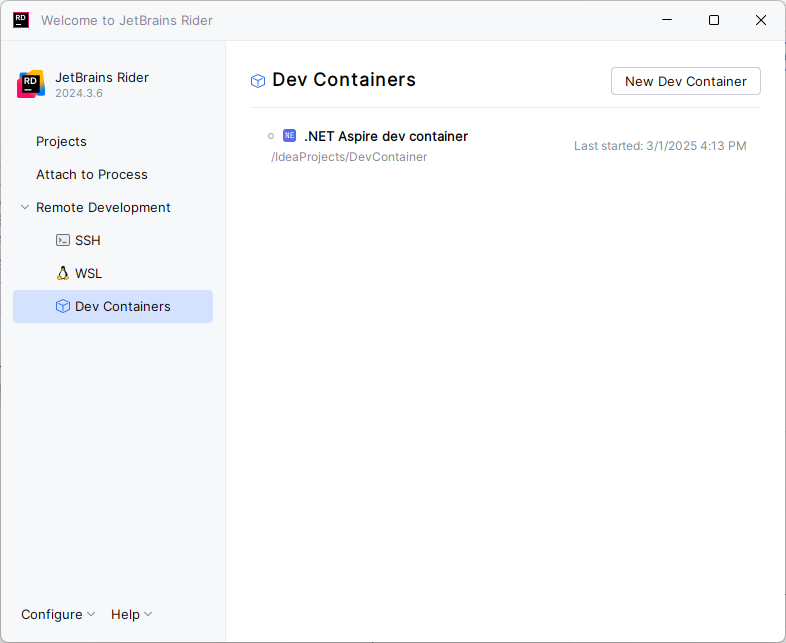
Start Rider or JetBrains Gateway, select Remote Development / Dev Containers, then click on New Dev Container and open your project.
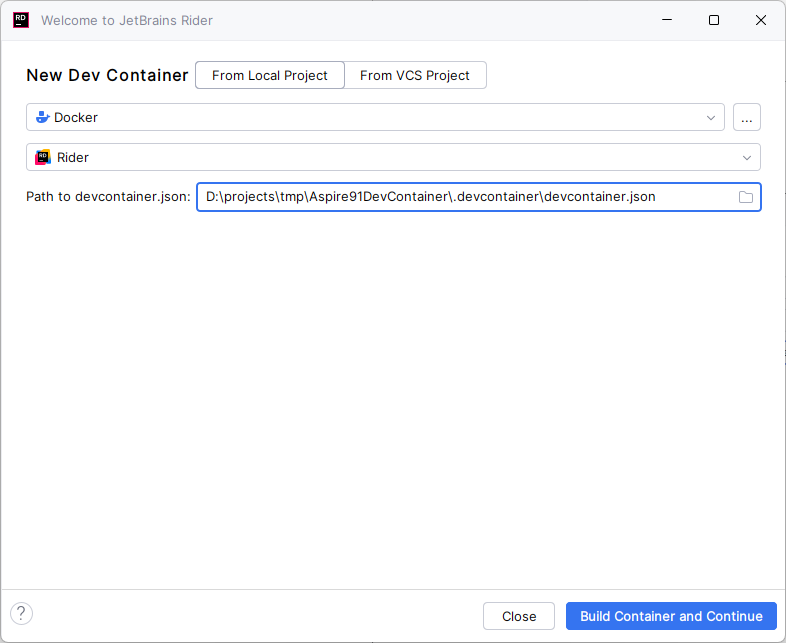
Select From Local Project, then Rider and the path of your devcontainer.json file, and click on the Build Container and Continue button.
Your container will be built
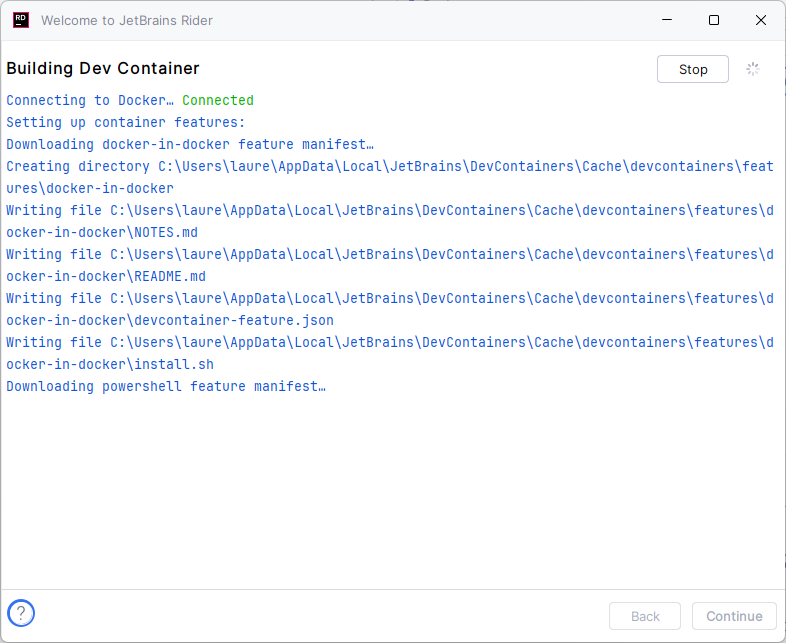
and you will be connected to it. You can now start developing in your container.
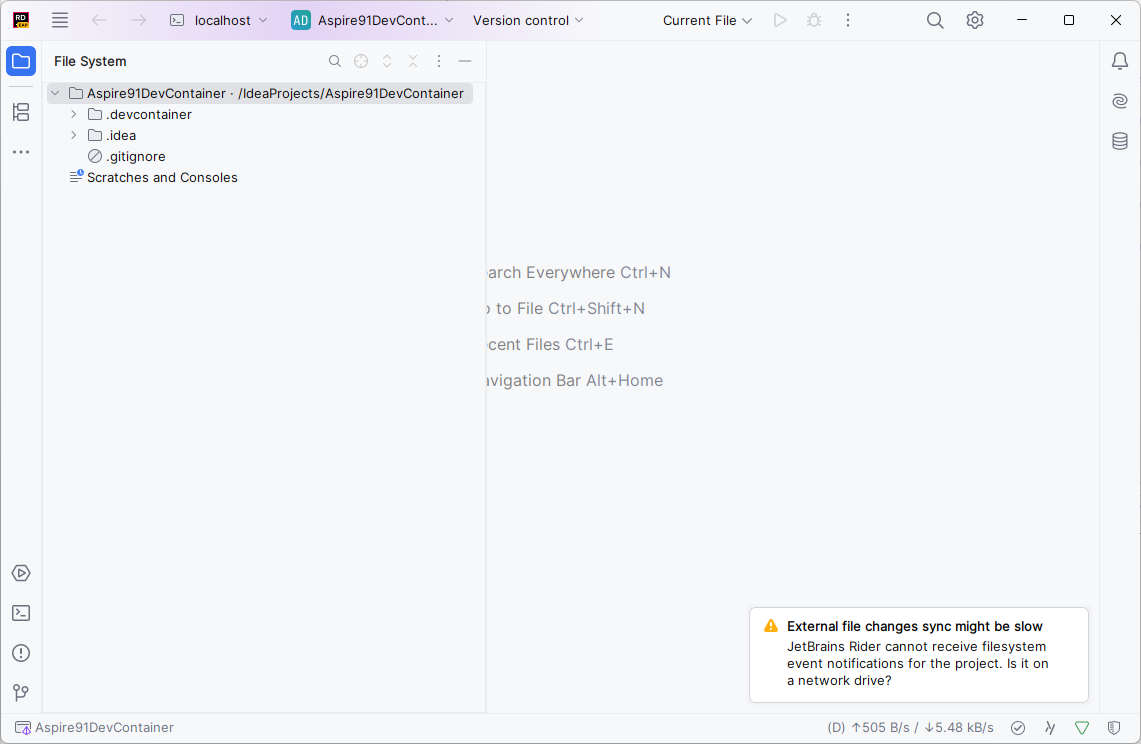
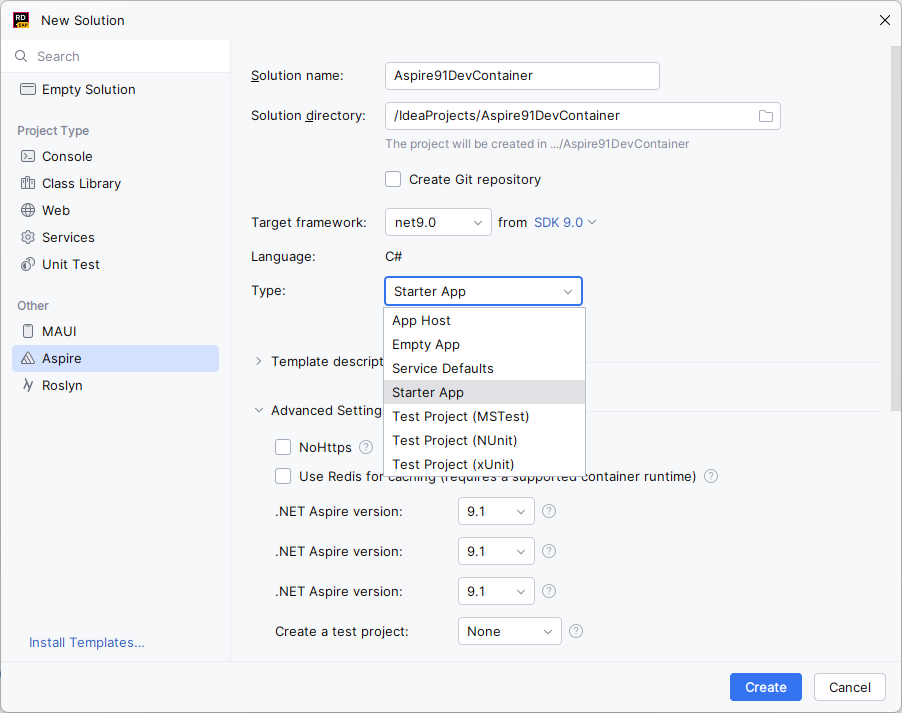
As the .NET Aspire templates are installed, you can create a new project using Rider or from the terminal. If you already have a .NET Aspire project in your repository, then you could run it directly. NuGet packages would be restored, and the development certificate is trusted 😏
A new window will open with the new solution created. You can close the other one.
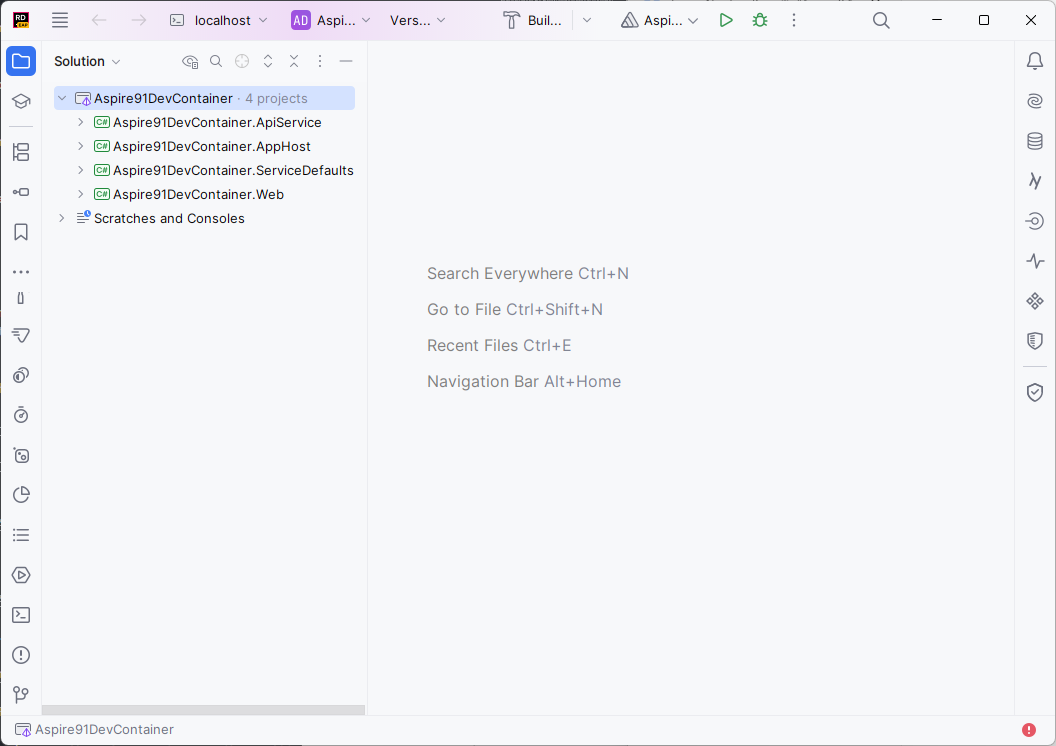
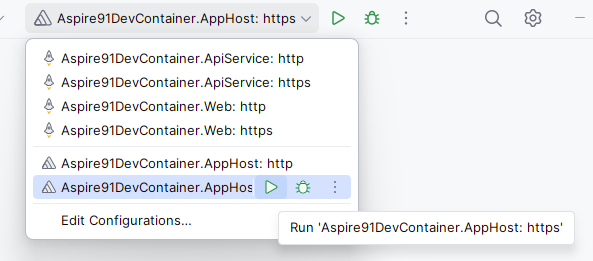
Now, you can benefit from all the features of Rider and .NET Aspire 9.1. For example, you can use the .NET Aspire run configuration to start your .NET Aspire application, which will start the AppHost, then the ApiService and the Web.
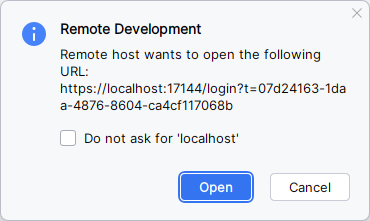
This will start the application and open the browser to the URL of the Web project. Then Rider will ask you for permission to open the following URL:
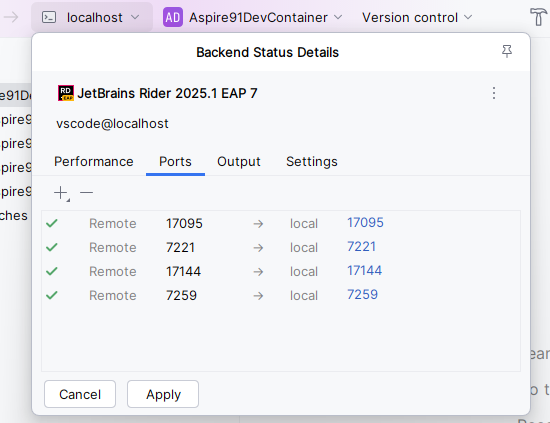
You can always see which ports are mapped from your dev container to your host machine by clicking on the Ports tab in the Remote Explorer.
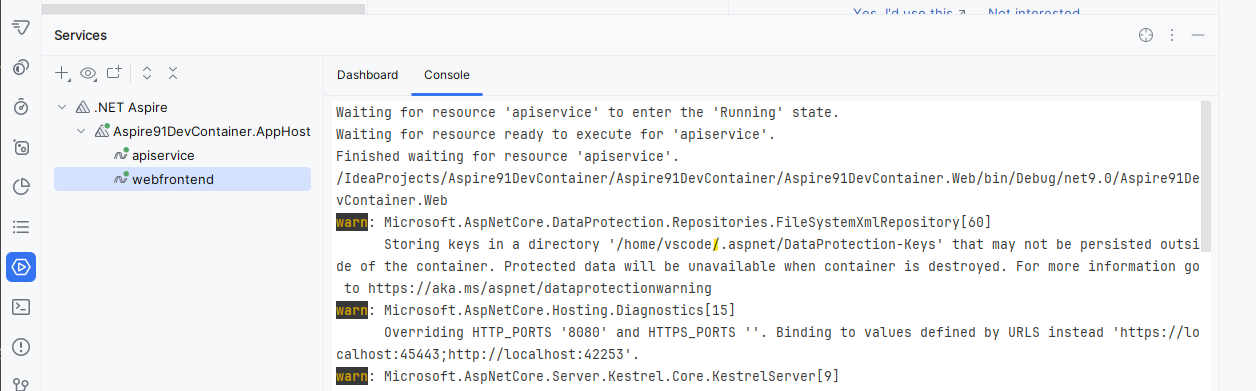
Another nice feature is the Services tab which gives you some of the functionalities of .NET Aspire Dashboard directly in Rider.
For sure, you can start your AppHost in Debug, set breakpoints, and debug your application.
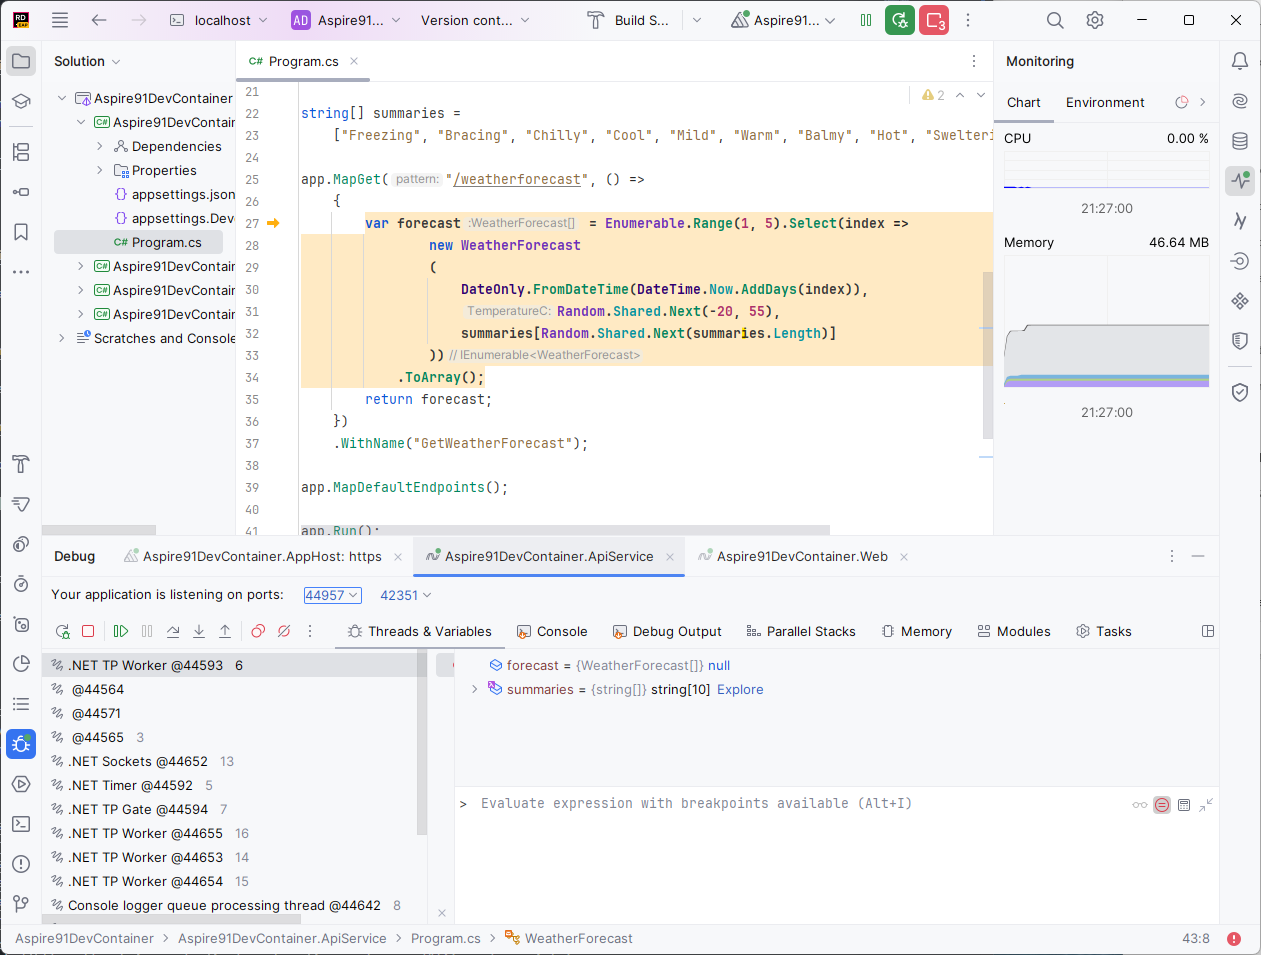
Truly amazing! 🤩
We used the From Local Project option to create the Dev Container. We are using it for testing. When you are all set, you will prefer from VCS Project for performance reasons. In that case, the source code would be cloned in the container and not mounted from the host. And this makes the development experience much faster.
Conclusion
In this post, I showed you how to use the new .NET Aspire 9.1 with a Dev Container from JetBrains Rider. This allows you to have a consistent development environment across your team and have a development environment that is isolated from your host machine. It also means that you can host your development environment somewhere else, like in the cloud, and access it from anywhere.
References
- Development Containers
- Developing inside a Container
- Dev Container overview
- Available Dev Container Features
- Dev Container Lifecycle scripts
- dotnet/aspire-devcontainer
- .NET Development Container Images
- JetBrains Rider and the .NET Aspire Plugin
- Big News for .NET and Game Devs: Rider Is Now Free for Non-Commercial Use
Get the source code on GitHub laurentkempe/aspirePlayground/Aspire91DevContainer
