As you might have guessed reading some of my older posts, I like to automate things which I believe a computer should do in place of humans.
It is true for “Automating my development machine installation“ or deploying software in “Build, ship and run ASP.NET Core on Microsoft Azure using Docker Cloud“… Today I will show you how to publish Visual Studio extensions using Azure DevOps.
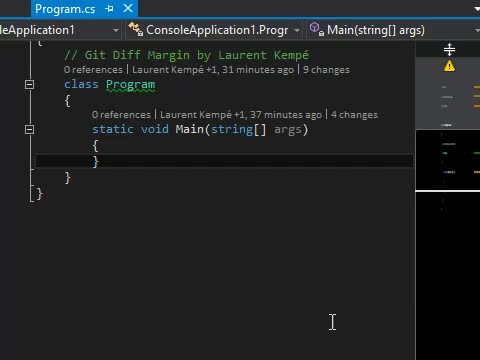
I am the author of Git Diff Margin, a Visual Studio extension displaying live Git changes of the currently edited file on Visual Studio margin and scroll bar. It supports Visual Studio 2012 through Visual Studio 2019 Preview. You can watch a short video about some of its features at the end of this blog post.
Previously
My way of releasing Git Diff Margin was tedious with lots of manual steps
- Update versions in all AssemblyInfo.cs, in source.extension.vsixmanifest
- Build on my local machine
- Get the vsix, install it in Visual Studio and test it
- Tag with Git and push to Github
- Login to the Visual Studio marketplace, upload by hand the vsix, adapt the description and publish
- Create a release on Github, upload by hand the vsix, adapt the description and publish
- Login to Chocolatey.org, upload by hand the nupkg, adapt the description and publish
There is clearly lots of place for some automation.
First improvement
For some time, I have used AppVeyor to at least have a Continuous Integration build. This was helping already to be sure that a Pull Request would build correctly and to get the vsix artifact built somewhere else than on my developer machine.
A good step for sure, but not enough to please me.
Today
I have greatly reduced the burden using Azure DevOps 💕 and this at no cost!
Microsoft is supporting the open source community with Azure Pipelines with 10 parallel jobs with unlimited minutes for CI/CD! Thanks for that.
You can watch a great quick intro video from Abel Wang to get a better idea
Build pipeline
So, creating a build pipeline on Azure DevOps is the first step and it is super easy! It comes in two flavors; one with a visual editor and one as a YAML file.
The overall goal of the build pipeline is to
- Start a build when something changes on the master branch of Git Diff Margin Github repository
- Produce artifacts resulting from a successful build
To achieve this here are the steps executed by the build pipeline
- Installing Nuget Tool
- Updating all AssemblyInfo.cs automatically using Assembly Info extension
- Update Git Diff Margin Vsix Version using Vsix Tools extension
- Building Git Diff Margin Visual Studio solution using Visual Studio Build task
- Running the tests. ❗ Currently, I still need to have this working
- Copy build artifacts to a staging folder and to the Chocolatey folder
- Run Chocolatey pack
- Finally, publish the build artifacts so that they can be downloaded later on
You can see that we already automated a good part of the manual tasks that we had to do previously. In fact, now we still need to update the version manually but only in one place which is the Azure DevOps YAML file: azure-pipelines.yml.
The remaining manual tasks are
- Get the vsix, install it in Visual Studio and test it
- Update README-Marketplace.md file which will be uploaded to the Visual Studio Marketplace as a description file
- Tag with Git and push to Github
This is the azure-pipelines.yml file which automates the whole build step!
By the way, you can get nice clickable build status badge like the following one
Release pipeline
Now that we have access to the build artifacts; GitDiffMargin.vsix for the Visual Studio Marketplace and GitDiffMargin.nupkg for Chocolatey we can automate the next step through a Azure DevOps release pipeline.
In this step, we would like to automate the following
- Login to the Visual Studio marketplace, upload by hand the vsix, adapt the description and publish
- Create a draft release on Github, upload by hand the vsix, create a description based on changes
- Login to Chocolatey.org, upload by hand the nupkg, adapt the description and publish
For that, we created a release pipeline job named “Marketplace - Github - Choco” with 3 tasks connected to our previously defined build pipeline artifacts
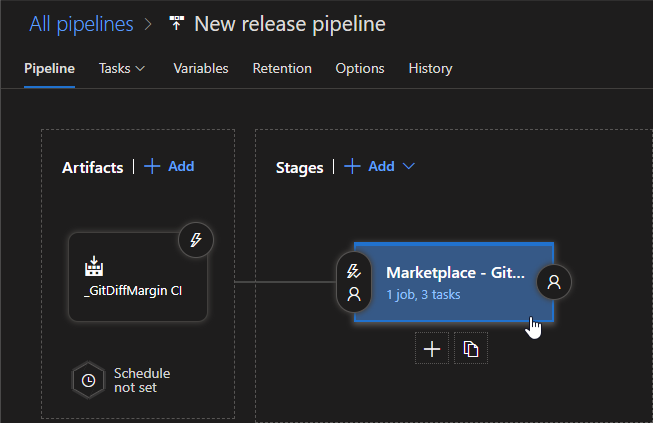 Azure DevOps Release pipeline
In the details
 Azure DevOps Release pipeline tasks
The first task publish Git Diff Margin to Visual Studio Extension using Azure DevOps Extension Tasks
The second task creates a GitHub release draft using GitHub Release task
The third task publish to Chocolatey using Chocolatey
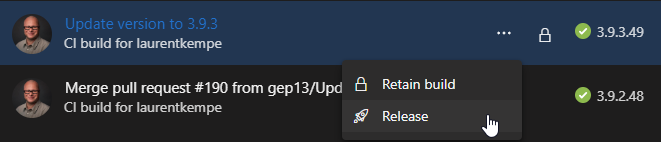
The release pipeline is triggered manually when I am ready to publish a new version
 Azure DevOps Releasing
And if everything worked correctly you see the following result
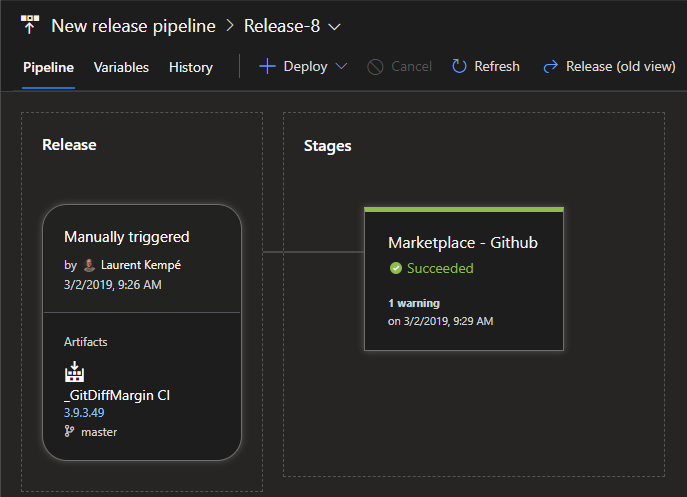 Azure DevOps Release result
And now people have access to the latest version of Git Diff Margin on Visual Studio Marketplace, on Github release and on Chocolatey.
Finally, we achieved our goal and let the machines do the work, which saves us time and avoid some mistakes.
Thanks
- Gary Ewan Park aka @gep13 for the great help he provided me on the Chocolatey part of this journey!
- Utkarsh Shigihalli aka @onlyutkarsh for extending of Azure DevOps Extension Tasks for the Visual Studio marketplace
Git Diff Margin feature demo